
***This blog post is a 2nd version posted months after the original due to losing the original website data. All vital information is included but no longer has the original information about my first impressions on the printer.
Resources:
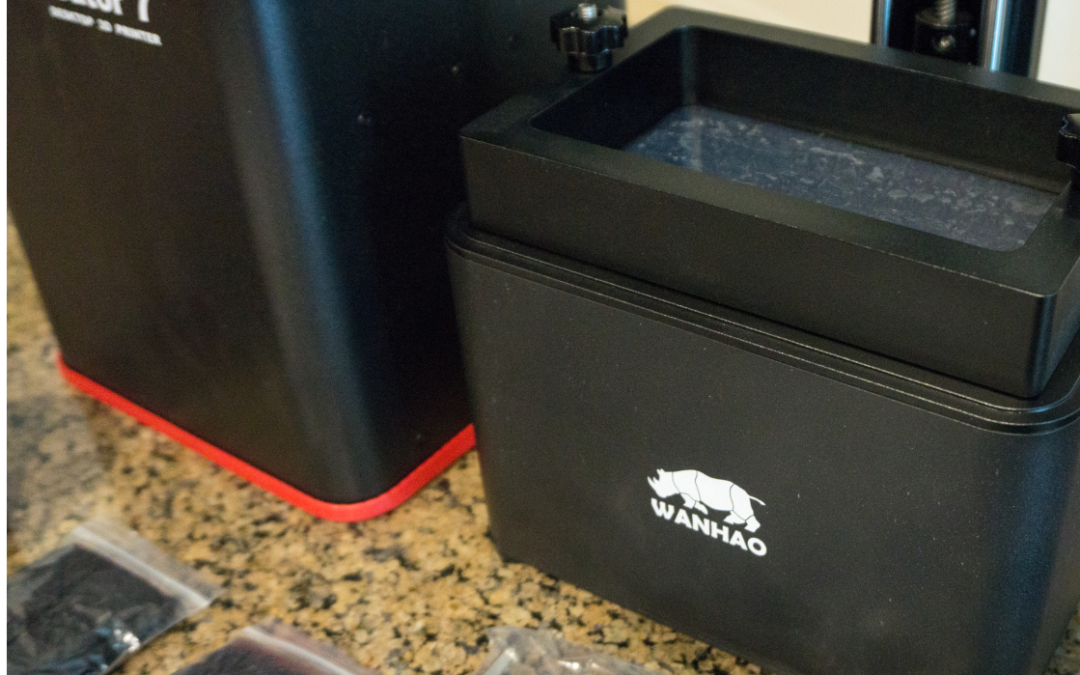
I purchased my printer from the Ultimate 3D Printing Store in a bundle package that came with a bottle of Photocentric resin, extra FEP vat film, and a second metal vat. A link to their current bundle deal with similar offerings can be found HERE.
For downloading the Wanhao D7 Firmware, version 1.02 for the V1.5 printer you can go HERE. To download directly from my site you can click THIS LINK.
For downloading the slicing software of Creation Workshop V1.0.0.75 that was available from Wanhao you can download directly from my site from THIS LINK. It appears that the original www.wanhaosupport.com website now reroutes to www.wanhaouniversity.com and nobody over there decided to upload the slicing software files even though they have a category under their support section. UPDATE 2/20/2020: It appears you can now find all the files a https://www.wanhao3dprinter.com/Down/ShowArticle.asp?ArticleID=83
The Wanhao D7 Facebook Group page can be found HERE.
For downloading the community developed slicing software of Creation Workshop X V1.2.4 you can download directly from my site from THIS LINK.
To look at a community created list of resin profiles as a starting point for whatever resin you may be trying to print with you can visit 3D Printer Wiki HERE.
To download the STL file for the test model I used in the video you can download it from Thingiverse HERE.
Here is the gcode for each section of the Creation Workshop profile setup. You can just copy and paste each section between the ***** sections into Creation Workshop for your new resin profiles.
Start
;******** Header Start ******
;Here you can set any G or M-Code which should be executed BEFORE the build process
G21 ;Set units to be mm
G91 ;Relative Positioning
M17 ;Enable motors
M106 S255
;******** Header End ********
Pre-Slice
;******** Pre-Slice %d$CURSLICE ******
; Printer G-code sequence before each slice
G4 P0 ; Make sure any previous relative moves are complete
;<Delay> %d$SettleTime
Layer
;******** Layer %d$CURSLICE ******
; Printer G-code sequence to print a slice
;<Slice> %d$CURSLICE
@cmdOpenShutter ; UV on
;{$CURSLICE<$NumFirstLayers?<Delay> %d$FirstLayerTime:<Delay> %d$LayerTime}
@cmdCloseShutter ; UV off
;<Slice> Blank
;<Delay> %d$BlankTime.
;******** Layer ********
Lift
;******** Lift Sequence ******
M106 S0
G1{$SlideTiltVal != 0? X$SlideTiltVal:} Z($ZLiftDist * $ZDir) F{$CURSLICE < $NumFirstLayers?$ZBottomLiftRate:$ZLiftRate}
G1{$SlideTiltVal != 0? X($SlideTiltVal * -1):} Z(($LayerThickness-$ZLiftDist) * $ZDir) F$ZRetractRate
;<Delay> %d$BlankTime
M106 S255
;******** Lift Sequence ********
End
;******** Footer Start ******
;Here you can set any G or M-Code which should be executed after the last Layer is Printed
M106 S0
G1 Z100.0 F150.0
G04 P30000
M18 ;Disable Motors
;<Completed>
;******** Footer End ******
Thank You